We are going to build a basic ray tracer over the next couple of weeks. I am going to break the process down into a collection of phases. I will be adjusting and tuning the phases as we go. Each phase will roughly correspond to a quiz grade, and will be turned in separately. You aren't forbidden from working on this outside of class, but the expectation is that your homework assignments will keep you busy enough that you realistically probably won't want to.
Here are my lecture notes from class.
We are going to start writing everything in pure JavaScript and manipulating the canvas directly. So, we need a way to color each pixel of the canvas directly. We do that by extracting an ImageData object from the canvas, which gives us pixel level access, and then putting in back (ref). Since I don't want you to lose all kinds of time figuring this out, here is some starter code. It is very basic, but it will give you a place to start.
We are going to make our lives easier for the moment and forget about complex view transformations. Put the camera at the origin (which is to say, assume everything is in camera coordinates and the origin of all of your rays is (0,0,0)). I suggest storing the point in a vec4. You should also give yourself variables for distance to the near plane, left, right, top, and bottom (if you want to get fancy, write yourself a function to set these based on angle and aspect ratio…). Remember that if the near plane is too close and big, you will have some very distorted images (like looking through a fisheye lens).
Create a function called createRay. It should take in a point and a vector (both vec4s), and return an object with properties p and v, which contain the point and vector respectively.
For each pixel, compute the (x,y) value of the center of each pixel in world coordinates, and use this to make a ray.
The first shape we will make is a plane. Write a function called createPlane, which takes in a point (vec4), a normal vector (vec4), and color (vec4).
This function should return an object with two properties: a hit function, and a color property (set to the input color). The hit function is a function that takes in a ray and returns a t value. The t value will be the value of t for which the ray strikes the plane, or -1 if it does not.
Recall that our equation for t is: t = (n • (P - E))/(n • d)
and we know that we didn't hit the plane if the divisor is 0.
Use your createPlane function to create a floor. Bear in mind that the camera is at (0,0,0), so you may want to put the floor lower than y=0.
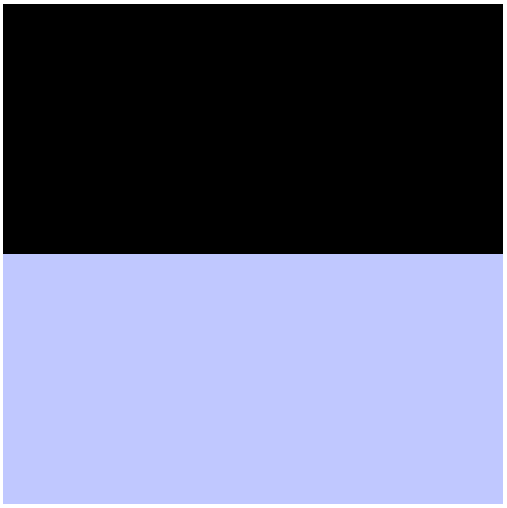
For each pixel, shoot your ray at the floor. If it hits, color the pixel the floor color, otherwise color it your background color. The result will look something like this (provided you have a violet floor and black background):
Put your code in a directory called username_ray1, and then zip it. Submit it on Canvas.
Time to actually start making a scene.
Write a function called createSphere, which should take in a center point (vec4), radius (float), and color (vec4). It should return exactly the same thing as you createPlane function (though with different functionality in the hit function).
Recall that our equation for t is:

Create a sphere and replace the floor with the sphere in your per pixel code. If it works, you should get something like this:
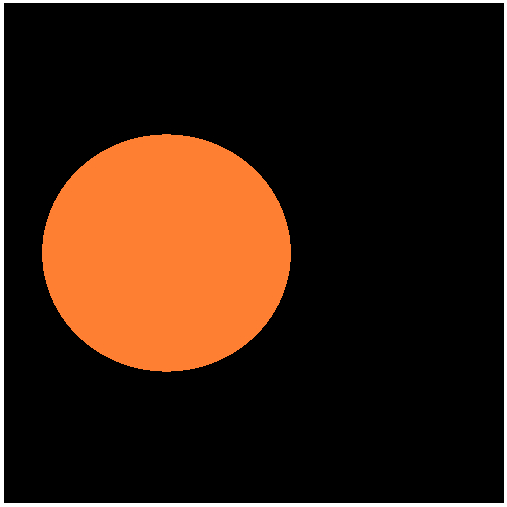
Bear in mind that if your view is wide-angled, the sphere may stretch in weird ways.
Create an object list and put both the floor and the sphere in it. For each pixel, iterate over the list, figure out which object is closet and set the pixel color based on that object.
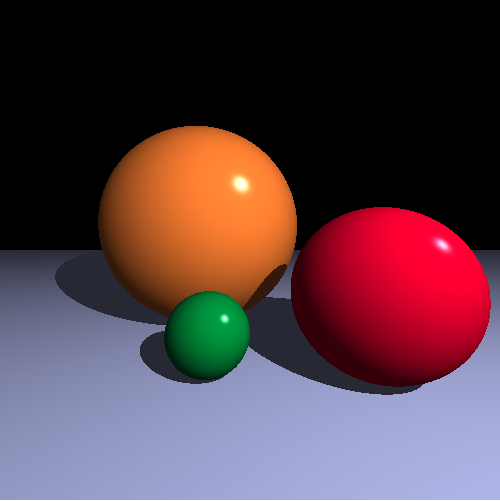
Once that is done, add another sphere or two in different colors. Drop them around the visible space and see what it looks like.
Put your code in a directory called username_ray2, and then zip it. Submit it on Canvas.
Now that your rays are hitting things in the scene, you can start lighting them properly.
The first thing you should do is revisit your hit() functions. We are going to need more than just the t value to determine how to color the point. So, return an object which contains t, the point where you hit, the normal at that point, and the color at that point. Make sure this modification works before moving on.
The next thing to do is to set up your lighting. We can keep it pretty simple, but we need a light position, colors/intensities for the ambient, diffuse, and specular light components of the lights, and a shininess value (though technically, the shininess should be a function of the materials – you can make this a property of the object returned by your hit() function if you like, or you can assume everything in your scene is equally glossy).
Now you can just calculate the lighting the way we did in the shader using the Blinn-Phong model.

Put your code in a directory called username_ray3, and then zip it. Submit it on Canvas.
In this phase, we will add shadows.
Before you dive in with this phase, we will add a little more structure. Write a function called createScene(). This should return an object with two methods defined on it: addObject(obj) and findColor(ray, t0, t1, depth).
Internally, the createScene() function will manage all aspects of the scene. So, move all of your lighting variables inside, as well as your object list.
The addObject() function will simply add objects to the object list.
The findColor() function will follow the form I gave you in class.
findColor(ray, t0, t1, depth){
  if depth == 0
    return background color

  hitRec = findHit(ray, t0, t1)

  if hit something
    calculate phong lighting
    return color
  else
    return background color

}
Note that you should write another function that handles the findHit() functionality. Migrate your loop that visits all of the objects into this function. It should be defined inside of createScene, so it can access the object list, but you don't need to include it in the returned object.
Once you have done this, your main function should have this basic structure:
create a new scene
add objects to the scene
for each pixel
  create ray
  color = scene.findColor(ray, 1, INF)
  set pixel color
Test and make sure your migration didn't break anything.
Once this structure is in place, it is pretty easy to build on it. We'll start with shadows. Recall that we decide if something is in shadows by firing a "shadow" ray from the point we hit towards the light and see if we strike anything.
We have the point where we struck, so making the vector pointing towards the light just requires a little subtraction. Use your ray creation function to create a ray from the hit point in the direction of the light. Then call the findHit function with the new ray. Remember that we want to offset t0 slightly to avoid finding the intersection with the originating object. t1 can be set at 1 (we don't care about objects behind the light). If the hit function finds anything, the point can be colored with the ambient light color, otherwise, carry on with the phong lighting.
The findColor() function should now look like this:
findColor(ray, t0, t1, depth){
  if depth == 0
    return background color

  hitRec = findHit(ray, t0, t1)

  if hit something
    color = ambient light
    create shadow ray
    block = findHit(shadow ray, 0.001, 1.0)
    if (!block)
      calculate phong lighting
      color += diffuse + specular

    return color
  else
    return background color

}
Put your code in a directory called username_ray4, and then zip it. Submit it on Canvas.
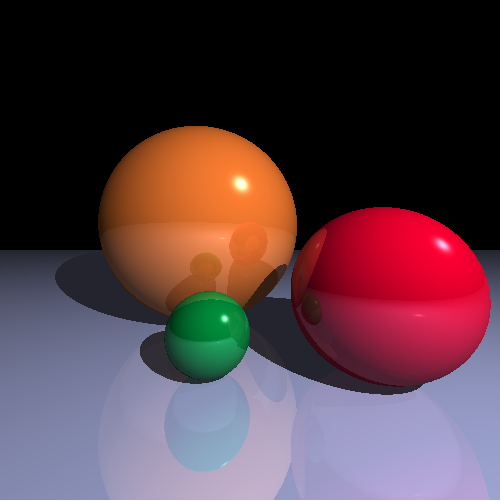
Reflections are pretty straightforward as well. We start by finding the reflection of the ray. Recall that the reflection = d - 2(n•d)n (where d is the vector associated with our ray and n is the normal at the point).
Once you have created a new ray with this vector and the intersection point, call findColor recursively, decreasing the depth.
When you get the bounce color, you want to mix it with your Phong model coloring. You could just add them together, but this is way too bright. For mine, I just scaled the two, so the bounce contribution is multiplied by .2 and the main lighting is scaled by .9. If you want to get technical, you really should make this a function of the object rather than a universal (like shininess).
So, we now have:
findColor(ray, t0, t1, depth){
  if depth == 0
    return background color

  hitRec = findHit(ray, t0, t1)

  if hit something
    color = ambient light
    create shadow ray
    block = findHit(shadow ray, 0.001, 1.0)
    if (!block)
      calculate phong lighting
      color += diffuse + specular

    create reflection ray
    bounceColor = findColor(reflection, 0.001, INF, depth-1)
    mix bounce light and direct light
    return color
  else
    return background color

}
Put your code in a directory called username_ray5, and then zip it. Submit it on Canvas.