Due: 2016-09-28 11:59p
As we saw in class, the fragment shader is responsible for coloring the individual pixels that make up the shapes we send down to the graphics card. A particularly useful and cool aspect of how we communicate to the fragment shader is the use of varying, which interpolates the values that are sent to it. We saw how it could interpolate color across a surface to give us gradient effects. Later, we will be looking at what this feature is most often used for. However, right now we are going to do something a little unusual with it…
What if instead of passing the color of each vertex, we passed the position instead? The fragment shader will then interpolate the position (in essence allowing us to color the pixel by where it is on the shape). Taking this a little further, if we draw a square (two triangles), we can fill the entire drawing context, allowing us to essentially draw each pixel individually.
You are going to create two pages exploring the possibilities of this.
Start with the same setup that we have been playing with. Use basic shaders and just draw a square that fills the entire context. I recommend using a triangle strip, though any of the other triangle primitives would work equally as well here. Set it to a solid color and make sure it displays properly.
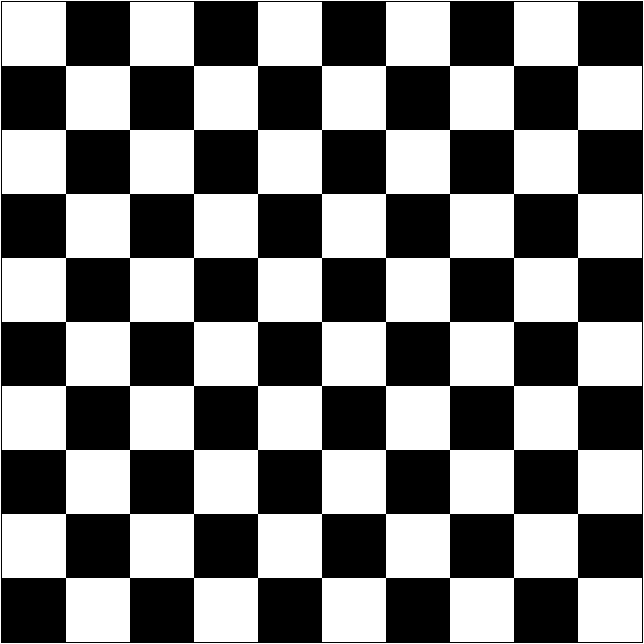
Your first exercise is to draw a checkerboard. I would like a 10x10 checkerboard that fills the entire drawing area. I leave the colors of the tiles to you (provided they alternate – a red-red checkerboard will be less interesting).
Normally, this would be a simple task. You just write some for loops and draw squares for the tiles. However, we are going to draw the checkerboard using only the one actual square. All of the real work will be done by the fragment shader. Provided you got the square working in part one, you shouldn't need to touch the JavaScript at all for this part.
Create a new varying in the two shaders. Set it using the position data in the vertex shader. Once you have done this, the fragment shader will know where the pixel is in world space. Here is the cool part: all you have to do is worry about how to color one pixel. There are no loops; each pixel will run through the fragment shader separately, so you just need to figure out how to set the color of that pixel based on its location. This should take a single if-statement (if-statements in GLSL look just like C). It may take a little thought since it is backwards from how most of you would have done it (and don't forget that you are in a 2x2 square).
Put this program into two files: username_checkerboard.html and username_checkerboard.js.
Hint: GLSL differs from C in that we use mod(x,y) to calculate modulo. Check out the refcard on the homepage for more syntax hints and math functions.
The Mandelbrot set is a very well known and rather fascinating fractal which I mentioned in class. I'll give you a brief introduction, for more in depth discussion, you can try Wolfram or Wikipedia.
To generate this, we are going to use the following as an iterated function
Zn+1 = Z2n + c
We can apply this function to any constant c, but where things get interesting is when we apply it to a complex number. The idea is to look at the "orbit" of 0 for this function given a particular complex number. When we talk about the orbit, we are talking about what happens when we iterate this function for a given start value (in this case Z0 = 0).
Z0 = 0
Z1 = c
Z2 = c2 + c
etc…
The Mandlebrot set is all about that constant c. If c was a real number, this would obviously shoot off to infinity. However, if c is complex, things get more interesting. For some values of c, the orbit is bounded – we just loop around forever. These numbers are members of the Mandlebrot set. Numbers that shoot off to infinity are not in the set.
If the orbit is bounded, then c is a member of the Mandelbrot set. If the orbit shoots off to infinity, then it is not.
To generate our picture, we are going to treat our x,y plane as a representation of the complex plane, with the point (x,y) standing in for the number x + yi. For every pixel (fragment), you are going to try and determine if the point is in the set or not. Our test is to simply keep applying the function over and over. If x² + y² >= 4, then we know that the orbit is headed out to infinity and we can stop checking. Otherwise, we just try the next iteration. Obviously, we can't carry on forever, so we just stop after some number of iterations and call the number "in". The more iterations you do, the more accurate your picture will be, and correspondingly, the slower it will be to draw. If you stop iterating because the number has gone past 4, then the point is not in the set, and you can color it white. If you stopped because you got bored, then the point is in the set (at least as far as you know), and you color it black.
Our basic algorithm assuming that our current complex number is (cx, cy) is:
float dx, dy, tmp; // temporary variables
dx = cx; // real part of our number
dy = cy; // imaginary part of the number

while (dx * dx + dy*dy  < 4.0 and not bored){
	tmp = dx;

	dx = dx * dx - dy*dy+cx;
	dy = 2.0 * tmp * dy + cy;

}

if (bored){
	paint black
}else{
	paint white
}
This is basically the same as the checkerboard program you just wrote, we just have a different test for what determines the color.
There are a couple of things that you should be aware of when implementing this in the shader. First, you probably want to jack the float precision up to highp. Second, GLSL as used by WebGL is fairly fussy about what kind of loop you use. It needs to know ahead of time how many times the loop will execute, so you must use a counting loop (i.e., a traditional for loop). Hint don't forget about break if you want to break out before the loop is "done" Thirdly, there is a tradeoff between speed and accuracy with respect to how long you wait before you get bored. Try a bunch of different maximum iterations and see how it affects the border of the set. Finally, the Mandelbrot set isn't centered on the origin, and you will probably not be able to see the whole thing. Don't worry about that now, we'll fix that in a later stage (yours will thus not look quite like mine, which is lined up and scaled)

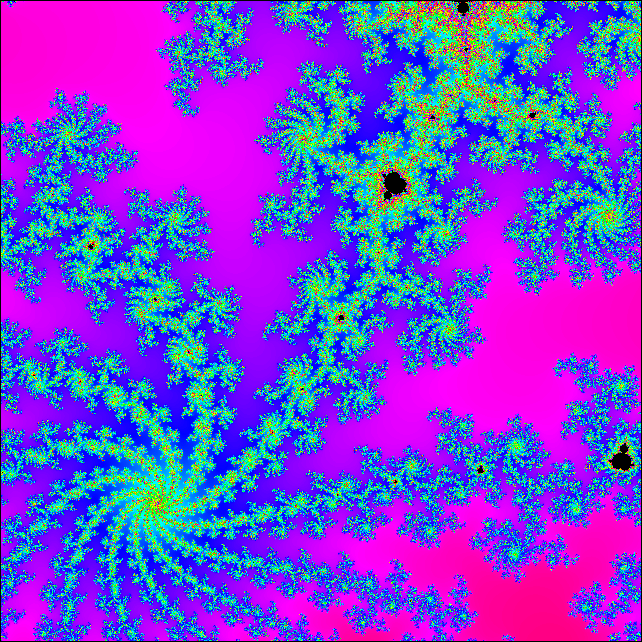
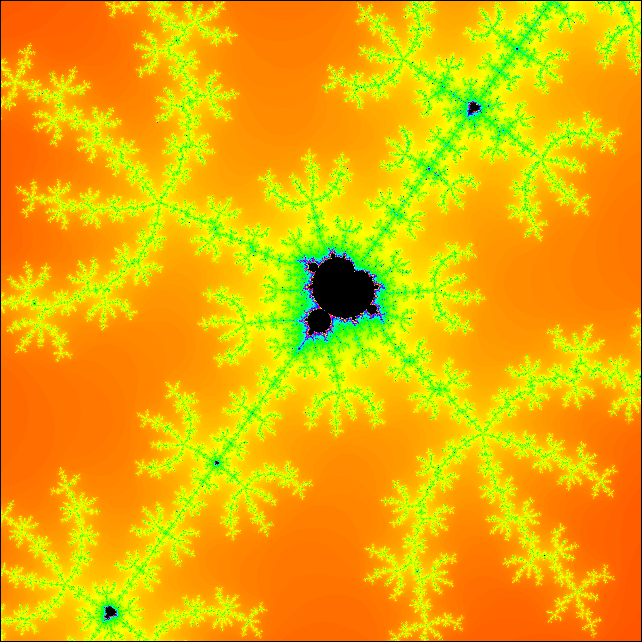
Of course, we all know the Mandelbrot set for its wild psychedelic swirls. Where is the color? All of those colorful pictures are picking color based on the dwell time, i.e., the number of iterations before we know that the orbit has escaped.
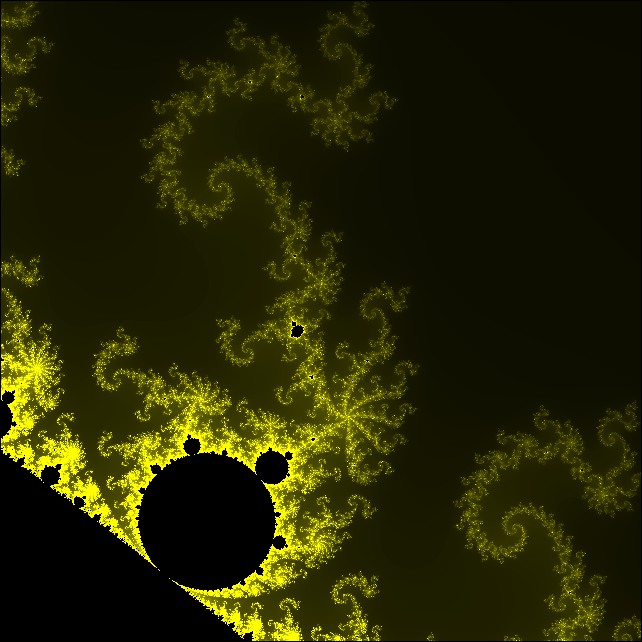
Add some color. The simplest approach is to just pick a single color and have it get more intense the longer the dwell time. Here is an example that colors pixels yellow based on the percentage of the dwell time it consumed before breaking free.

Be creative. You could have a long if statement that breaks the space up into graduated bands of color to get the full effect.
Of course, the real interest in the Mandelbrot set is in diving deep into the swirls and looking at the complexity hiding down in the borders. So, we need a way to move around the image and zoom in and out.
We are going to go for a simple point and click interface. A left click will zoom in and a right click will zoom out. Any click will also re-center the view on the point you clicked. Here is an example of how to read mouse clicks.
Start by just worrying about re-centering. Create a new variable in your JavaScript that keeps track of the current center of the image. Start by setting this to (0,0) to match our coordinate system (later you may find that (-0.5, 0.0) makes a good default…). Create a uniform to allow you to share this with the vertex shader. You then want to use this to shift the vertex position before sending it off to the fragment shader. Note that you do not change the vertices you are passing from the JavaScript or the final value of gl_Position – we still want to draw the square as before, we just want to change what values we are mapping to the pixels.
In truth, this shift can happen in either the vertex or the fragment shader. The difference is that if we do it in the vertex shader, we do it four times, once for each vertex, while if we do it in the fragment shader we will do the shift a couple thousand times…
Take some time to think through the equation. You've done most of it (the conversion from browser space to canvas space to clip coordinates) for the last assignment. Now you need to compensate for the fact that the center is moving.
Once you have shifting working, add scaling. The easiest way to think about the zoom is to consider the length of the sides of the bounding box (initially 2). To zoom in, we shrink the size of the sides, and when we zoom out, we increase them. For our purposes, I would like you to change the size of the sides of the box by 10%, so that zooming in decreases the length by 10% and zooming out increases the length by 10%.
Add a variable to keep track of this to your JavaScript and then add a uniform to convey the size to your vertex shader. Make sure that you add the current size to your calculation of what point the user just clicked. You will then need to scale the vertex position you are sending to the fragment shader using this size (again, don't touch gl_Position). Be warned that the order that you scale and shift matters…
Once you have these all together, I would like you to hand these in as username_mandelbrot.html and username_mandelbrot.js.
This assignment is worth 70 points.
| Points | Metric |
|---|---|
| 5 | Presentation - good commenting, name in the files, followed naming convention, no spaghetti code |
| 20 | Checkerboard - right number of tiles, all done in the fragment shader |
| 20 | Basic Mandelbrot - basic shape calculated in the fragment shader |
| 10 | Color - pixels are colored based on dwell time in some reasonable and aesthetic way |
| 15 | Interaction - the image centers on the mouse click and zooms in and out correctly |
Your submission should consist of four files: username_checkerboard.html, username_checkerboard.html, username_mandelbrot.html and username_mandelbrot.js. If you rename them for submission, make sure that you check that they still work before handing them in.
Please zip the directory containing your files and submit it to Assignment two on Canvas.
I would also like to make all of the submission live off of the website. As we get more involved, this will be very interesting. In the meantime, I think you will benefit from being able to look at how your peers approached the assignments. If you would like to opt out from this, please tell me so in the text box on the assignment submission form.